Report on the assembly of a R 984 with shear
Click on the photos to see larger versions of the pictures.
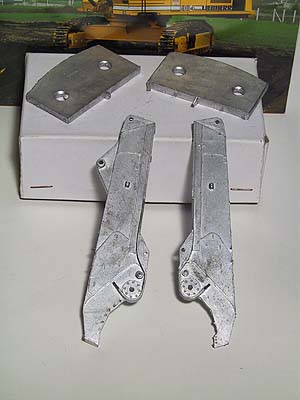
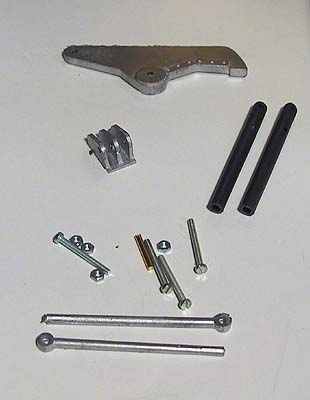
![[Photo]](/de/berichte/schere/gesamt.gif "The kit") |
| All parts of the “raw” kit |
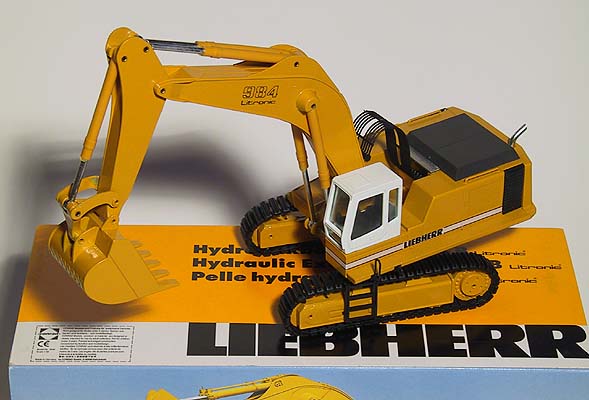
At Christmas 2001, I found a Zon kit of a large scrap shear under the tree - along with a Liebherr R 984 B Litronic as an appropriate base maschine.
The kit was of typical good Zon quality and contained four larger main parts and a bag with several smaller parts. Due to this, the assembly was rather uncomplicated. Only a few minor blemishes had to be filled and sanded.
But to give the model a little “personal touch”, I planned to make a FOPS grille for the operator’s cab from brass profiles 1×1 mm and 1×2 mm. (But without sticking to a certain existing structure.) I found the following method to work best for assembling both frames: I cut the profiles to length and fixed them with pins on scale paper in the appropriate position. Then poured small amounts of superglue on all joints. The glue is fluid enough to trickle even in very narrow chinks.
With this method, one can not prohibit that the scale paper is also glued to the brass, but residues of paper can be removed easily with the help of a file when the glue is thoroughly dried. Excess glue can be removed with a mini-drill equipped with a small milling head (also after the glue has dried).
A special challenge was the rearward support framed that was supposed to feature crossed angluar struts for better stability. It was rather difficult to get the proper mitres while also keeping the appropriate total length.
In order to mount the grille a the front, I used two short 1×1 mm brass rods for which I milled fitting receptacles into the upper carriage of the R 984.
![[Photo]](/de/berichte/schere/gitter1.gif "Frame during assembly") | ![[Photo]](/de/berichte/schere/gitter2.gif "front-side mounting") | ![[Photo]](/de/berichte/schere/gitter3.gif "rear supporting frame") |
| One of the grille frames during assembly | Front-side suport of the cab guard together with milled receptacles in upper carriage | Rear supporting frame during assembly, the two grille frames are already glued together. |
![[Photo]](/de/berichte/schere/gitter4a.gif "front-side view of grille") | ![[Photo]](/de/berichte/schere/gitter4b.gif "back-side view") |
| The completed structure, front-side … | … and back-side view. |
![[Photo]](/de/berichte/schere/anlenk.gif "Linkage of the shear") |
| Linkage of the shear |
After painting with acrylic paint, I did the final assembly. This too was rather uncomplicated, despite the fact that the kit seemed to be inteded for use on a Caterpillar 375 by Zon. Due to this, several small modifications had to be done: Because there were no mountings for the supplied ballast, I just the plates to the floor of the upper carriage.
The 375 has only one hydraulic cylinder actuating the stick contrary to the R 984, which features two of them. Because of this, the rams didn’t fit into the mounting at the shear, I mounted them on the outer side.
For doing this, I used the well-known hollow brass rods that are widened at both ends as a replacement of rivets.

![[Photo]](/de/berichte/schere/gesamt.jpg "The kit")
![[Photo]](/de/berichte/schere/gitter1.jpg "Frame during assembly")
![[Photo]](/de/berichte/schere/gitter2.jpg "front-side mounting")
![[Photo]](/de/berichte/schere/gitter3.jpg "rear supporting frame")
![[Photo]](/de/berichte/schere/gitter4a.jpg "front-side view of grille")
![[Photo]](/de/berichte/schere/gitter4b.jpg "back-side view")
![[Photo]](/de/berichte/schere/anlenk.jpg "Linkage of the shear")
![[Photo]](/de/berichte/schere/fertig_komplett.jpg "The finished model")
![[Photo]](/de/berichte/schere/fertig_gitter1.jpg "Front view of cab guard")
![[Photo]](/de/berichte/schere/fertig_gitter2.jpg "Rear view of cab guard")